

When it comes to crafting, you can never go wrong with turning an adorable photo of your baby into a cute Easter chick.
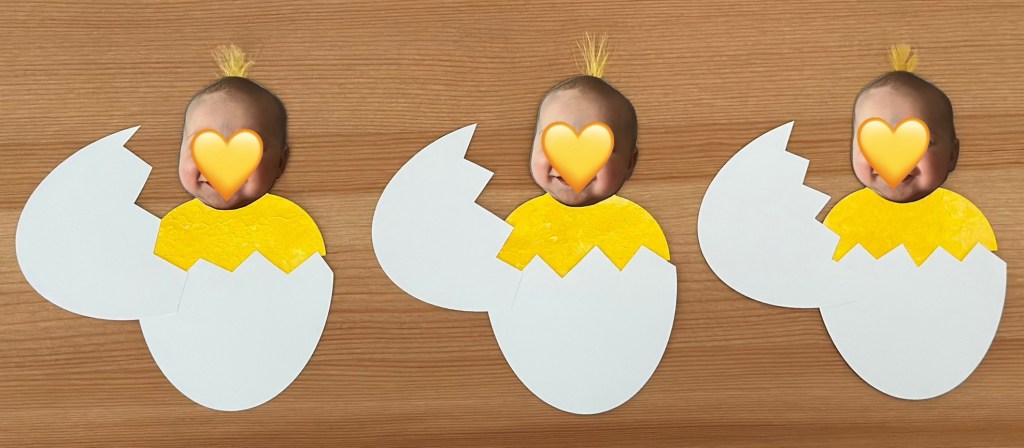
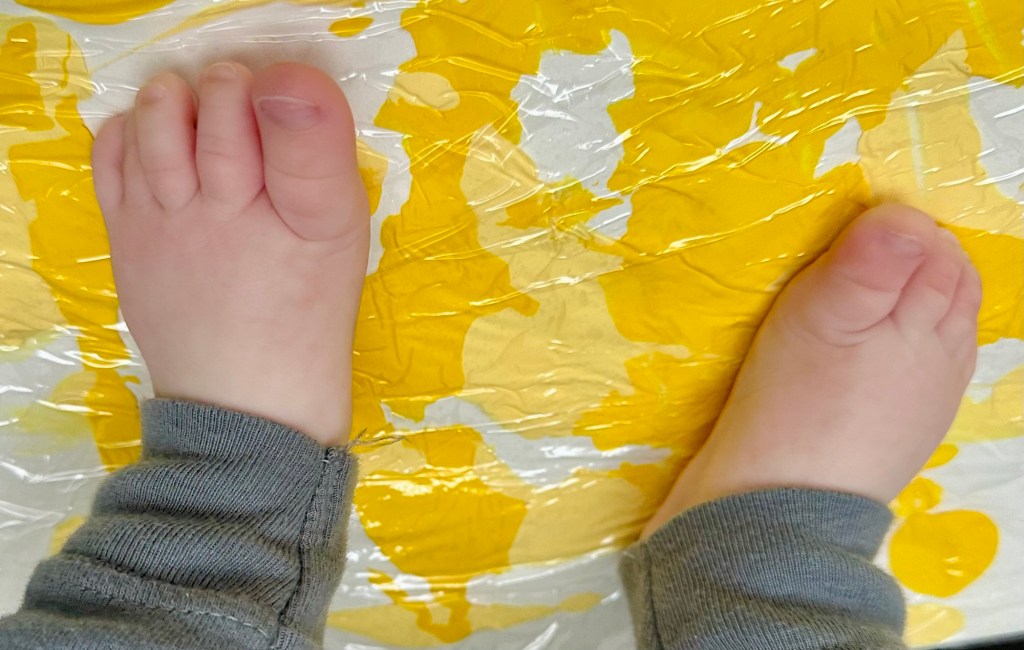
I created mine with my 5 month old (at the time), which obviously means I did most of the “work.” That being said, I was able to involve him in the painting portion of the project which he really enjoyed. At such a young age when babies tend to put everything in their mouth, painting/finger painting isn’t really an option. So is an easy alternative that is also mess-free, which is in itself an added bonus.
Materials for this craft:
- Paper (preferably nothing too thin as the paint will cause it to wrinkle or rip)
- Yellow paint(s) (I used two shades, but you could also use one)
- Plastic plate or other surface to fix your paper to
- Plastic wrap or zip lock plastic bag
Instructions:
Step 1: Prepare your materials.
Step 2: Add small dollops of paint to a piece of paper.
Step 3: Place paper on plastic plate and wrap at least twice with plastic wrap to avoid any tears (if using ziplock bag, place your paper into the bag and zip closed—you will still need a good sturdy surface to place the bag onto).
Step 4: With adult supervision and support, the child can use their hands for a fine motor experience or their feet for a gross motor experience.
Step 5: Remove the plastic wrap and allow their artwork to completely dry before continuing.
Step 6: Print out a photo of your child’s face and cut out around it.
Step 7: For the chick bodies and egg shapes, I used my cricut maker 3 to cut them out, but this can easily be done by hand as well. Cutting a half circle for the bodies and an oval for the egg (making sure that the chicks’ body does not exceed the width of the egg).
Step 8: Cut the egg in the middle with a zigzag pattern.
Step 9: To attach the parts together, I used a glue roller. Attach the head to the front top of the yellow body, with half of the egg slightly over the bottom edge of the body and the other half of the egg attached to the left top edge of the bottom part of the egg.
Step 10: Lastly, using a piece of tape, stick a small yellow feather to the back of the head (photo of your child).
Adaptions:
- This craft can be adapted for older children, by allowing them to paint using their fingers or paint brushes.
- Children who are able to use scissors could also be involved in the cutting portion of the craft (with adult supervision, of course).
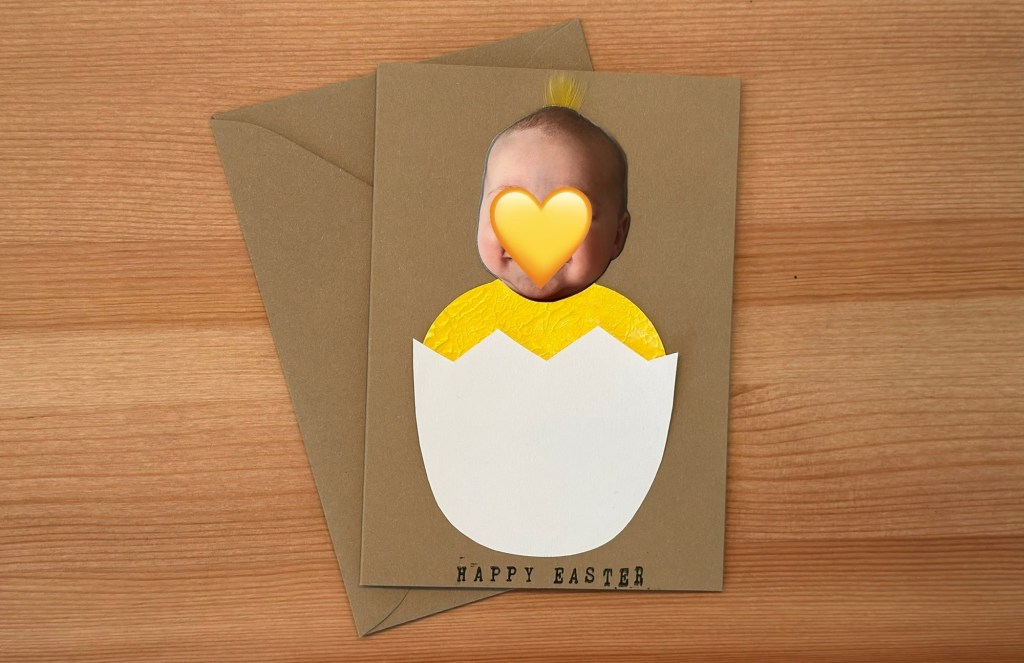
- An additional adaption to this craft is shown below, adding the chick to a blank greeting card. In order to make the chick fit on a standard card you would only make the bottom half of the egg, as the top half would not fit. You can use a Rayher word band stamper (as seen in the photo), or hand write your Easter message.
Happy crafting!

Leave a comment