
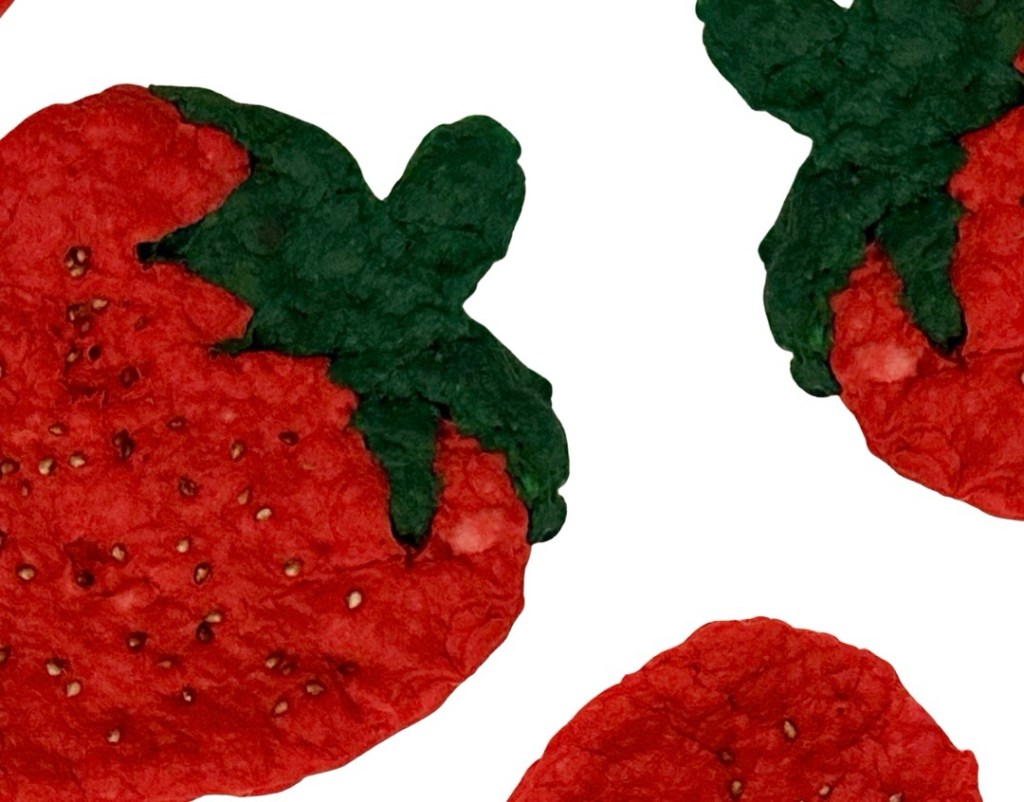
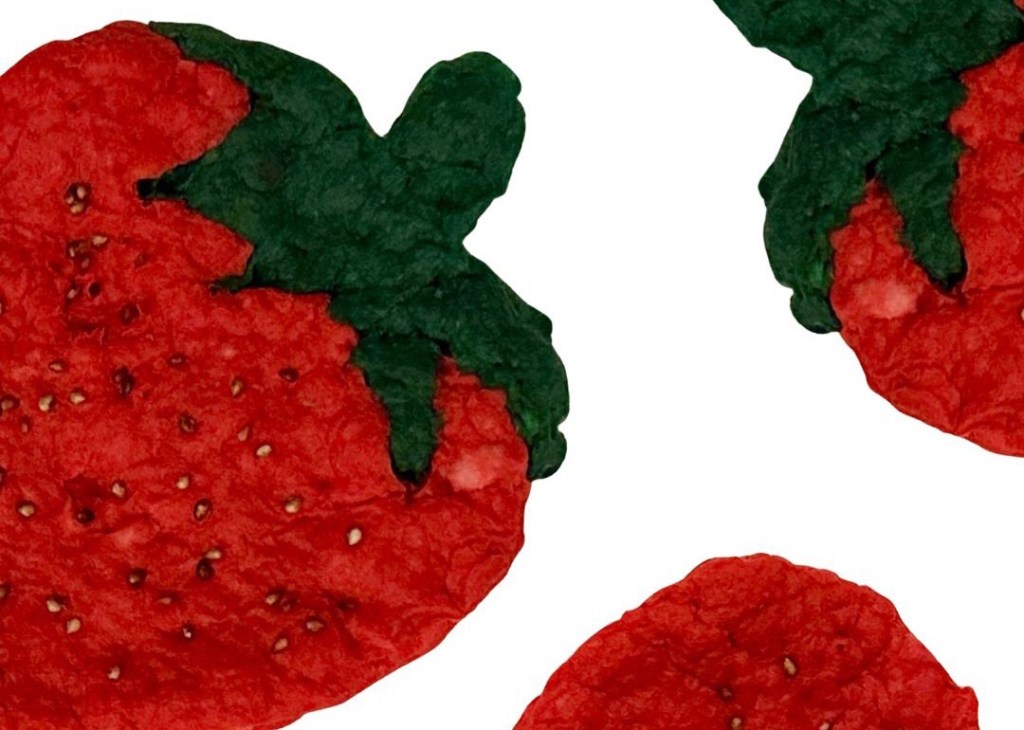
Creating seed paper is such a fun way to utilize paper scraps from a previous craft!
Materials:
- Paper scraps (red, pink & green)
- Two bowls
- Water
- A blender or puree stick
- Parchment paper
- A toothpick or wooden skewer
- Wire cookie rack
- Paper towels
- Strawberry shaped cookie cutter
- Strawberry seeds
Instructions:
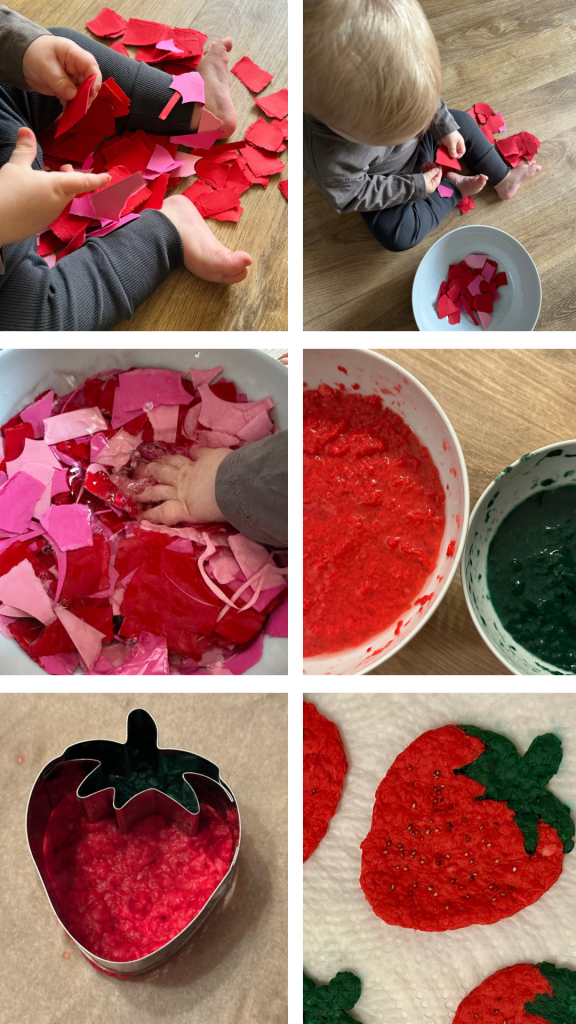
- Begin by sorting your paper scraps, choosing the desired colors for this project
- Tear the scraps into smaller pieces if large ones are included (this is a great fine motor activity for little ones to take part in as well)
- Place your red and pink paper scraps in one bowl and the green in a separate bowl
- Add enough water to cover the paper on each bowl
- Let the paper soak for a couple of hours (great step for teaching children about patience)
- Blend your paper into a pulp consistency
- Drain any excess water before shaping
- Place your cookie cutter on a sheet pan lined with parchment paper
- Press the desired colored paper pulp into their respective parts of the cookie cutter
- Use your toothpick or skewer to help loosen the pressed pulp from the edges of the cookie cutter as you slowly lift it up
- Place your newly formed strawberry paper between a few paper towels and gently press out excess water
- Add your strawberry seeds to the red portion of the paper and press down to help ensure that they stick while drying
- Place your finished seed paper strawberries on a wire cookie rack to dry
- Allow them to dry completely to avoid molding (do not try to speed up the process in the oven, this will damage the seeds and make them unable to sprout)


Leave a comment